
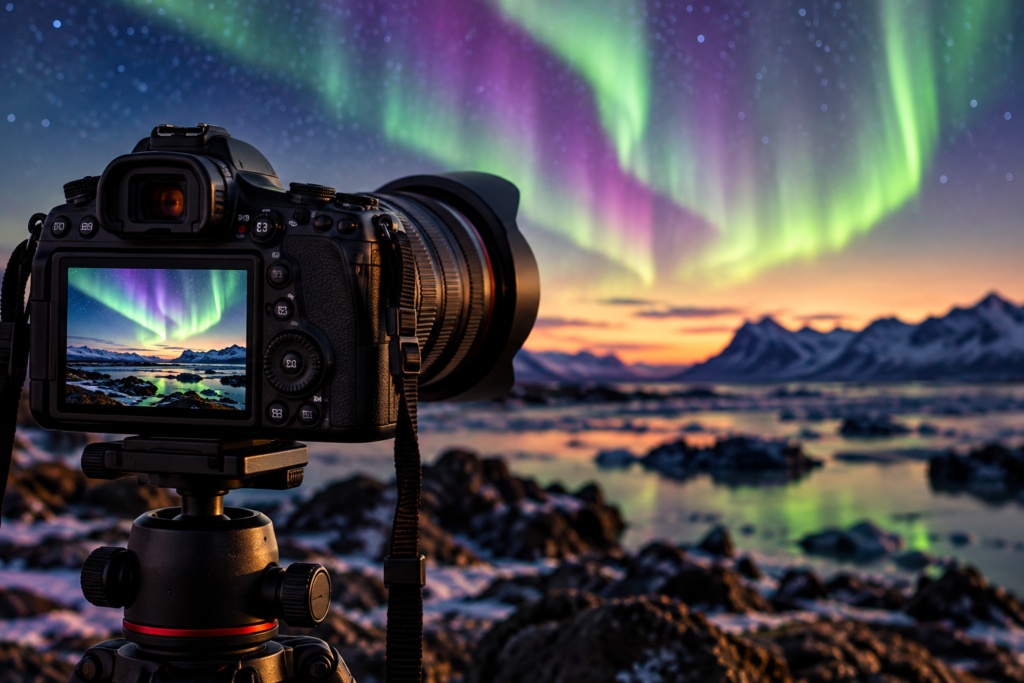
How to Photograph the Northern Lights in Iceland – Phone & Camera
The Aurora Is Above You? Start Here
If you do not have time to read the whole guide, start here: on a phone, use Night Mode when available, turn off the flash and keep the device steady; on a camera, use a wide aperture, raise the ISO and begin with an exposure of a few seconds. For a strong, fast-moving Aurora, try a shorter exposure. For a faint Aurora, stabilise the device and gradually use a longer exposure. For a person under the Aurora, keep the exposure as short as conditions allow and ask the person to stay completely still.
Important: these are starting points, not universal settings. Aurora strength and movement, moonlight, local light, lens speed and the device itself all affect the result.
How to Photograph the Northern Lights with a Phone
A recent iPhone, Samsung Galaxy or Google Pixel can capture an excellent memory of the Northern Lights. Use Night Mode when available, turn off the flash and, above all, keep the phone still. A small tripod is ideal, but a car, rock, railing or backpack can also provide a firm support.
Phone: Night Mode
Strong and faint Aurora need different approaches
A faint Aurora may appear pale or grey-green to your eyes while the phone records more colour because it can collect light for longer. Night Mode and stabilisation help here. When the Aurora becomes bright and moves quickly, an exposure that is too long can turn fine curtains into a green blur. The simple rule: the brighter and faster the Aurora, the less you need a long exposure.
Northern Lights Camera Settings Made Simple
If you use a DSLR or mirrorless camera with manual controls, focus on four things: aperture, ISO, shutter speed and focus.
Where to find M (Manual)
Aperture — how much light enters the lens
Use a wide aperture when possible. Values such as f/1.8, f/2 or f/2.8 let in plenty of light. If your lens starts at f/3.5 or f/4, you can still photograph the Aurora — simply compensate with ISO and exposure time.
Aperture: wider opening, more light
ISO — brighter, but with more noise
As a starting range, try roughly ISO 800–3200. Higher ISO makes the image brighter but also increases digital noise, so the highest setting is not automatically the best one.
ISO 800 → 1600 → 3200
Shutter speed — how long the camera collects light
For a faint, slow Aurora, start with a few seconds and lengthen the exposure if needed. For a bright Aurora moving quickly, a shorter exposure — often around 1–5 seconds as an initial test — can preserve the curtains, lines and structure. Longer exposures can help with faint light but may blur a fast-moving display.
Shutter: 1s · 5s · 15s
Focus — do not rely on autofocus in the dark
Switch to manual focus and use a distant star or very distant light. Magnify the live view and adjust until the point is as sharp as possible. Do not simply turn the lens all the way to the infinity mark and assume focus is perfect.
Focus: from a disc to a point
How to Photograph a Person Under the Northern Lights
Place the phone or camera on a tripod or solid support and ask the person to remain completely still. If the Aurora is bright enough, shorten the exposure and raise ISO if necessary. Avoid blasting a strong flash directly into the face; gentle, brief light can look more natural. Take several frames — one will usually be sharper than the others.
Person + Aurora
Make It Look Like Iceland
Do not photograph only a green sky. Include a mountain, water and reflections, coastline, waterfall, small Icelandic church or house, snow, or a person in the foreground. The Aurora is the main event, but the landscape gives the photograph a story. Check the horizon too — darkness makes it surprisingly easy to discover the next morning that the sea appears to run downhill.
Composition: sky + Icelandic landscape
Common Aurora Photography Mistakes
The most common mistakes are hand-holding a phone during a long exposure, using too long an exposure for a strong Aurora, missing focus, pushing ISO higher than necessary and — perhaps the biggest mistake — spending the entire display looking at a screen.
Before You Take the Photo: Find the Aurora
A good camera cannot photograph the Northern Lights through clouds. Before heading out, check more than the Kp index: cloud cover, local conditions, darkness and what is happening in the sky now can matter just as much. The NERA Aurora System connects that journey through Forecast → Alert → Knowledge → Aurora Hunt.
Your NERA path: check the Live Aurora Forecast → follow Aurora Alert → learn why the Kp index is not the whole story → see the best time for Northern Lights in Iceland → explore Aurora Hunt.
Capture the Memory — Then Watch the Sky
Take a few photographs. Check that you captured the moment. Take one more if you want. Then put the phone down and look at the sky. The Aurora changes from second to second, and no photograph can fully capture the feeling of watching it move above the Icelandic landscape for the first time.
Take the photo. Then put the phone down and watch the sky.